If there’s one product we use on a near daily basis at Honeycomb for our client’s, it’s Klaviyo. If you’re not familiar, Klaviyo is an email marketing tool for eCommerce brands and is by far our favorite on the market.
Now we already loved Klaviyo for its high-converting forms, easy to use interface and email workflows that put revenue on auto-pilot, but as I was logging in to create a new flow today something else stopped me in my tracks: the new email editor.
If you’ve been on the fence about switching email marketing providers and haven’t made the leap, I think this new editor may convince you.
What we love about the new Klaviyo email editor:
Custom Font Integration – Easier than ever and no code required!
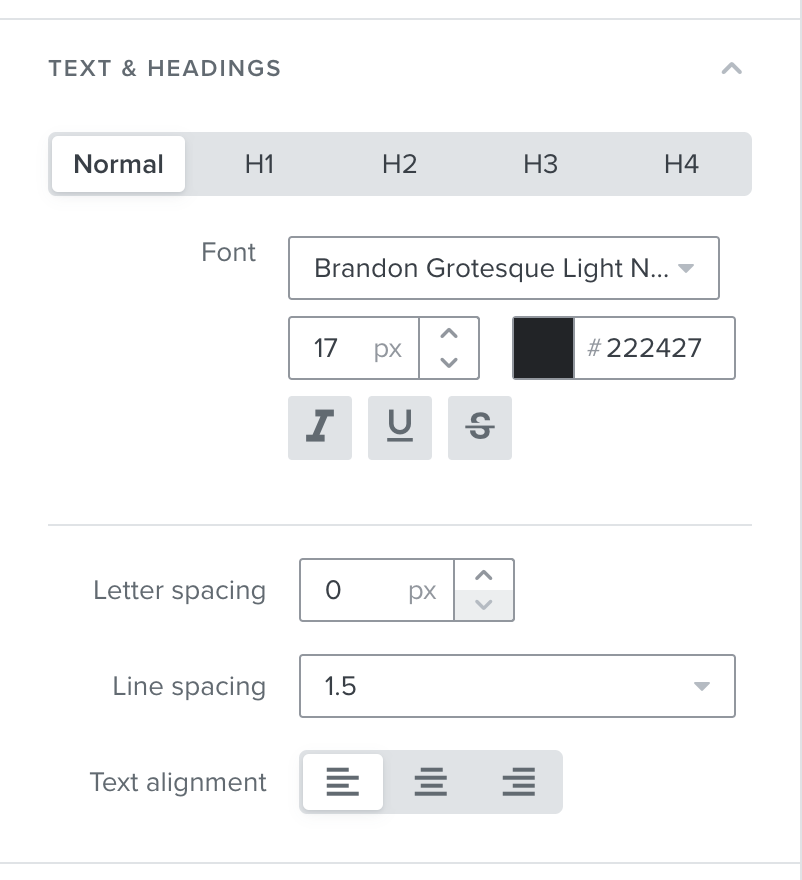
As a brand strategist and eCommerce marketer, the feature that most excites me about this new editor is the custom font integration. Previously you would need to code these into Klaviyo which wasn’t so much difficult as it was hard to replicate. With no font hierarchy, it can create more work than necessary. Now, you have the ability to create text and heading styles directly in the editor down to the line height AND custom mobile styles as well. This is a huge win for anyone looking to add their branded fonts into their emails easily.
Why is this such a big deal? When we design deliverables for our clients, we don’t design in a way that limits their ability to use the deliverable. That means very little custom code, no fancy customizations and easy to edit templates. With the ability to create a font hierarchy within Klaviyo, no code required, our clients now have more customization at their fingertips without the learning curve.
Design sections with ease using new background image feature!
The new theme editor also includes background image options on sections meaning you no longer need to design outside of Klaviyo to achieve the sleek look of text overlay.
Customize for mobile and desktop
How to Create an Email Using the New Klaviyo Email Editor
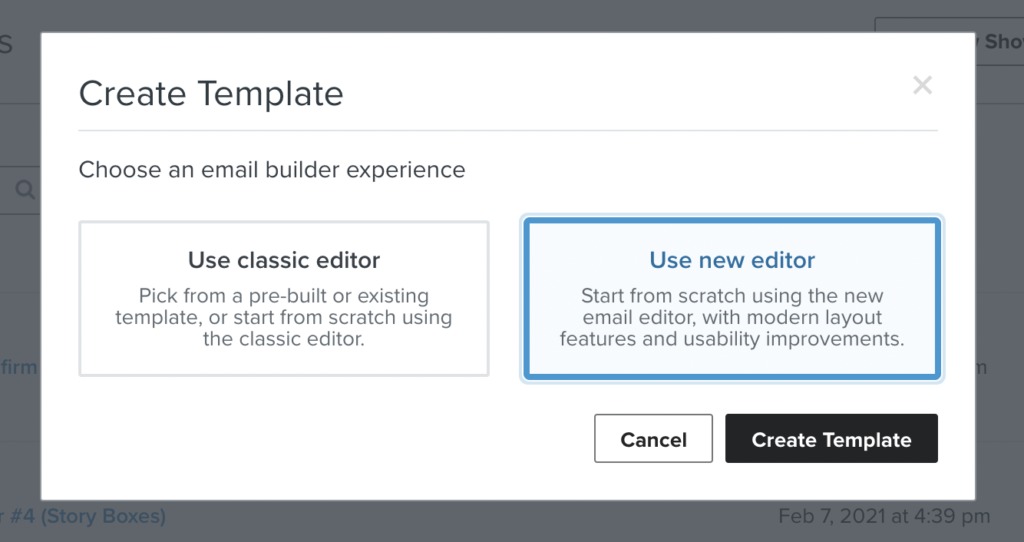
1. Login to Klaviyo and head to Email Templates. Select “Use New Editor”
2. Set up your custom fonts and font hierarchy
- Navigate to the “Styles” Menu and from there you’ll set up your fonts, colors and other design specifications. To start, I set up the fonts I would like to use. If you are using custom fonts, please refer to this post about setting those up in Klaviyo.
- From there, set up your styles for links and mobile sizing. Remember to do this for each heading style and your body text.
3. Design Your Email Template
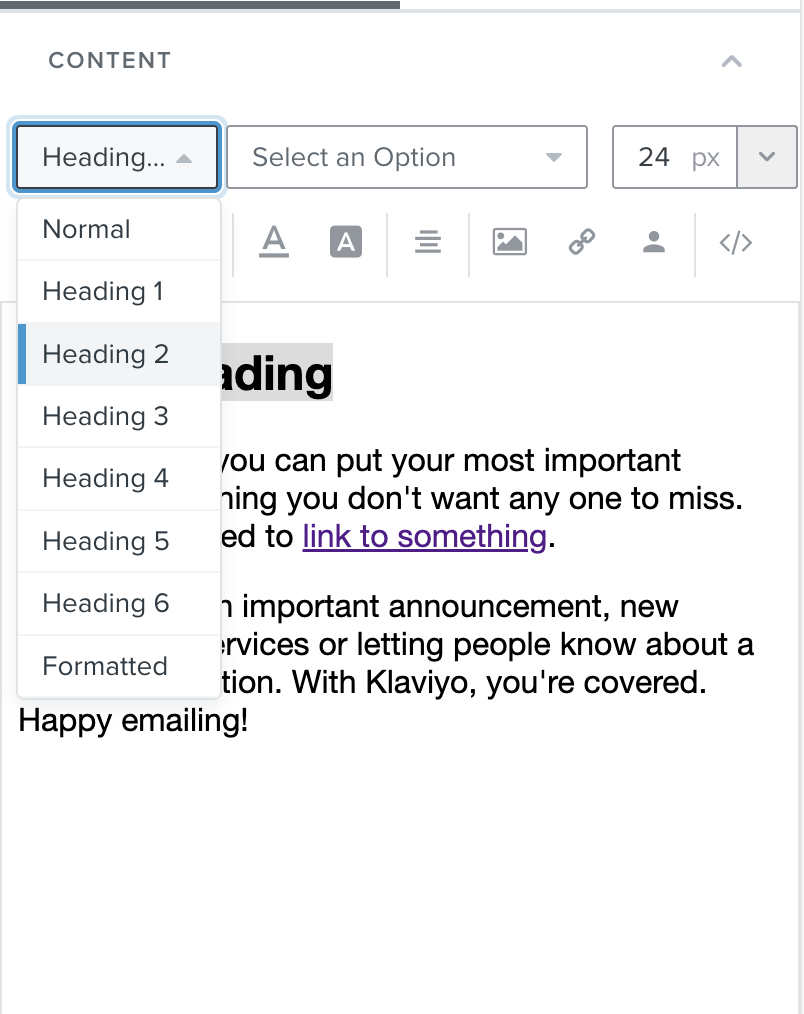
The new editor uses sections and blocks just like the previous editor but with much more flexibility. Once you are in the new editor, simply build an email like you normally would. Here are some design options I really like within the new editor:
Image Overlay Sections
The new editor allows you to easily add a background image to a section and then add additional blocks to that section. To add a background image:
- Under the Content Menu, add a Section block from the Layout options
- Drag the Section block to your email canvas
- Under Styles toggle on for Background Image
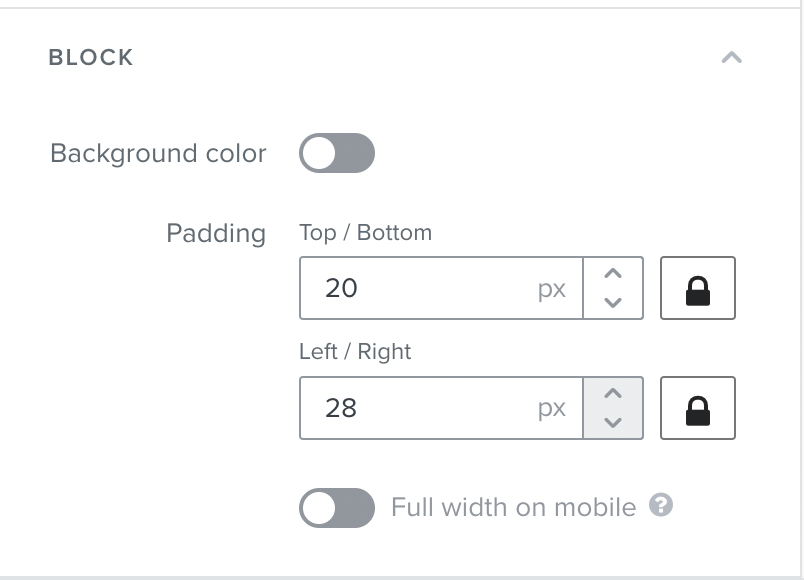
- Upload your image
- Scroll down and toggle on Padding. Adjust padding to your liking.
- Drag additional blocks you would like to use in the section like a text block and format
Customize your text sections
While text sections have always included options for adding a background color and border, I find that the layout of these options are much easier to find and utilize. First, you have your font hierarchy available within the text editor based on what you set up in your style settings (see above). Then you also have options to easily add a border or background color to the section.
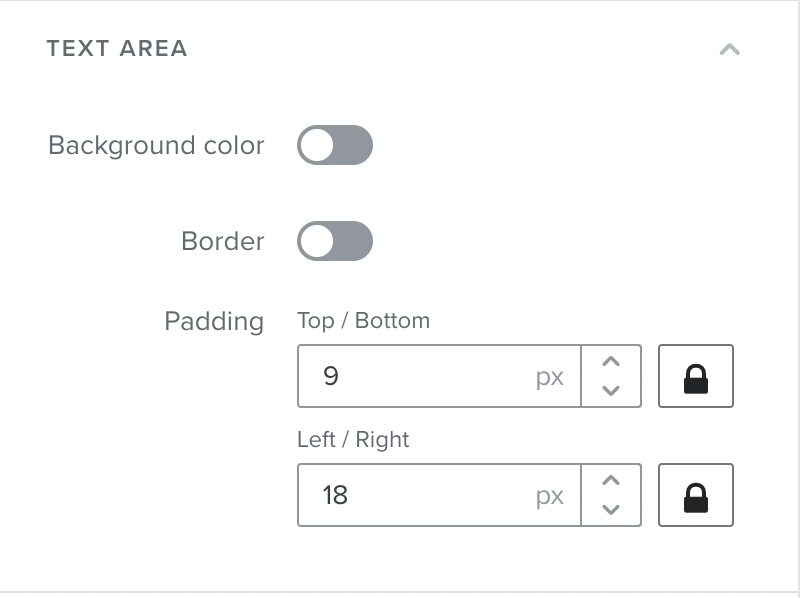
Pro-Tip: If you want to add a border to a section and would like to have some padding on each side, add padding to the block on the left/right which will then provide whitespace on each side of your border.
Add Columns to a Section
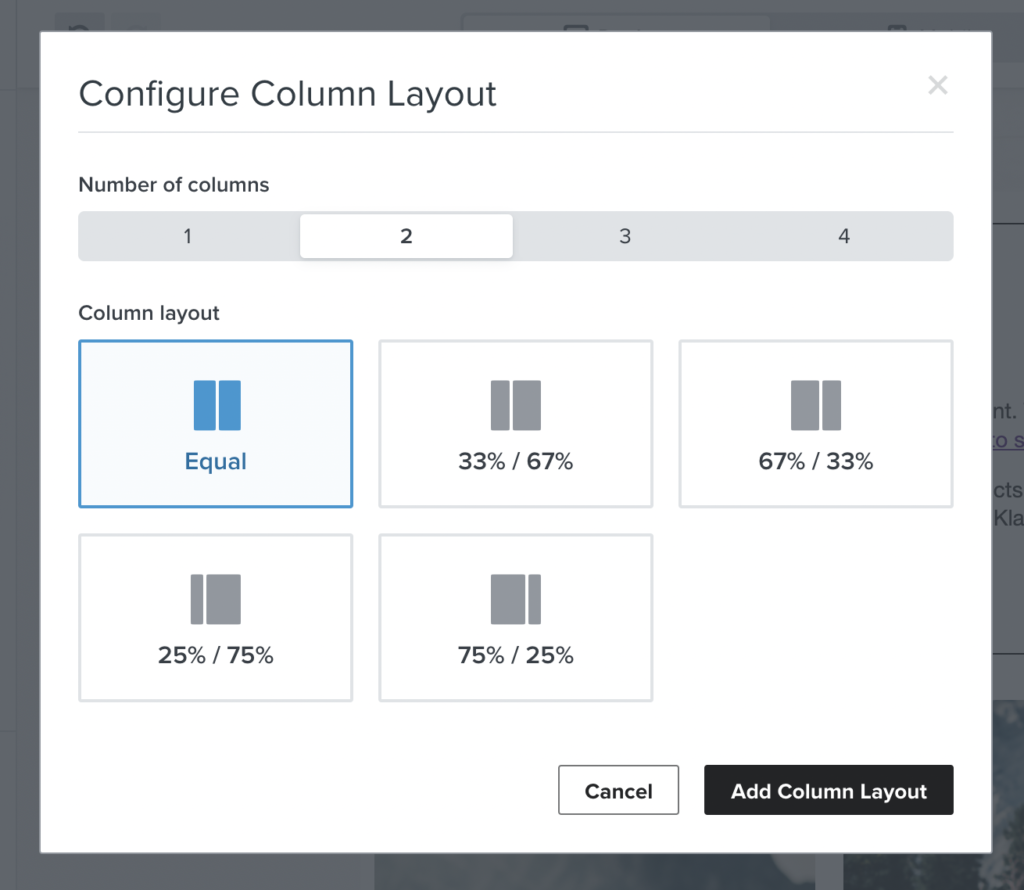
Add up to four columns now with the Columns block. Simply navigate to Columns under Layout and you’ll then choose your column number and placement. This is a great option for galleries, product image features or product feature callouts!
Easily make changes and preview
Making changes and previewing your email are easier than ever! Not only do you have the ability to reverse changes using the arrows on the left hand side of the navigation. You can easily switch between mobile and desktop. This was previously much less obvious and I’m so glad to see this featured prominently in the new editor. Additionally, previewing and testing is easily located on the right-hand side of the menu, making it easy to test your new template.
I highly recommend doing this especially if you are using custom fonts to ensure they render in your email client. I ended up switching out some font files for WOFF2 after realizing they weren’t rendering. This did the trick and all three of my custom fonts rendered after that adjustment.

4. Applying an Email Template to a Campaign
Now that you’ve designed a beautiful template, you can build out a campaign.
- Click “Save and Return to Templates”
- Navigate to Campaigns and select “Create Campaign”
- Click “Email” and “Continue”
- Add your name and recipients then click “Continue to Content”
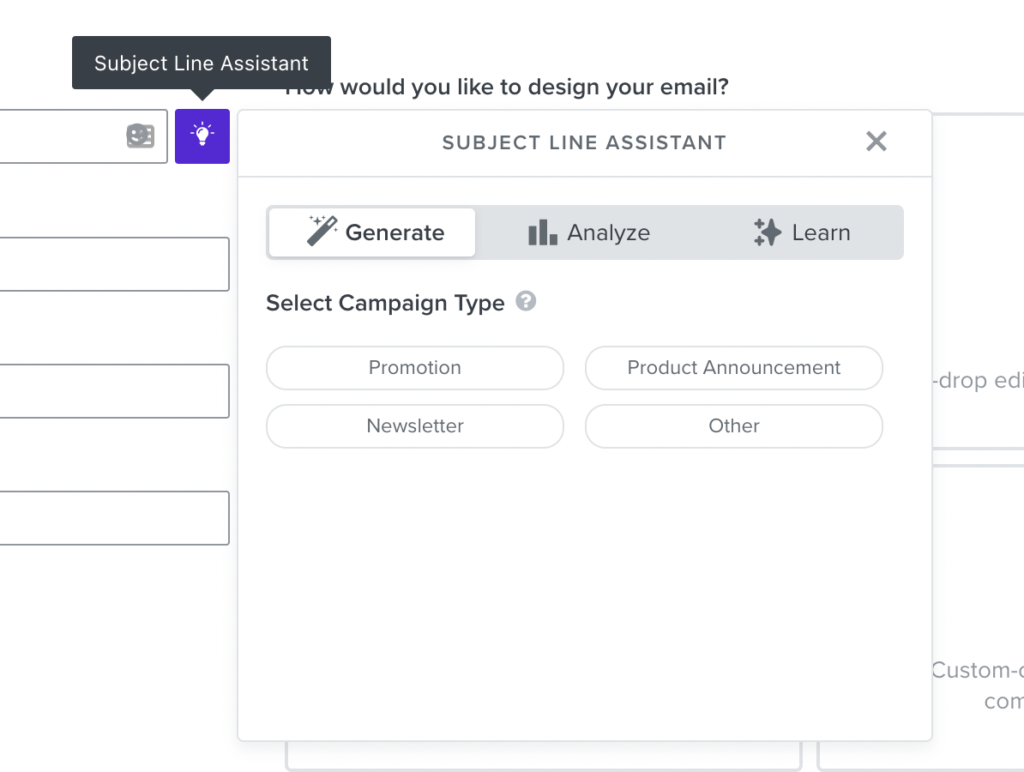
- On the next screen add your subject line – Pro-Tip: Use the new Klaviyo Email Subject Line Assistant to help you craft a high-converting subject line. We’ve been testing this for a few weeks with client email campaigns and it WORKS! We’ve seen a significant increase in email engagement after using the subject line assistant.
6. Click “Drag and Drop” then “My Templates”
7. Select the template you just created and you are ready to design! At this point, you’ll want to customize the template you’ve created to the campaign you want to send. That may be a little or a lot of customization, totally up to you! Let your creative juices flow 🙂
Need some inspiration? Here are 3 designs we created using the new editor!
We hope this blog post helps you create beautiful emails easily with the new Klaviyo email editor!